

How to Apply for a Rooftop Solar System Subsidy in India?

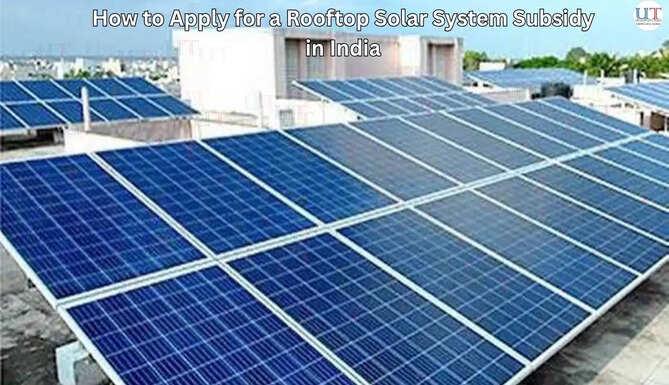
UdaipurTimes, October 23, 2026 | Solar Panel Systems: Rising electricity costs have encouraged many households to consider solar power for their homes. Government subsidy support can make solar adoption more accessible for eligible residential consumers. However, you need to complete several stages before receiving the benefit.
The process starts with registration and continues through application submission, feasibility approval, vendor selection, installation, and inspection. Knowing each stage can help you prepare the required details and avoid delays.
If you are considering a rooftop solar system for your home, let’s understand how to apply for the subsidy through the official portal and complete the process correctly.
Steps to Apply for a Rooftop Solar Subsidy Through the PM Surya Ghar Portal
The application process involves six key steps, from creating your profile to redeeming the subsidy after inspection.
Step 1: Create Your Profile on the PM Surya Ghar Portal
Start by visiting the official PM Surya Ghar portal and begin the registration process. Enter your active mobile number and verify it using the One-Time Password (OTP) sent to your phone. Once verified, provide your name, state, district, and other required details.
Next, enter your email address and complete the email verification using the OTP. After checking your information, click on ‘Save’ to create your profile. Keeping your contact details accurate can help you receive important updates about your application.
Key takeaway: Use an active mobile number and email address that you can access throughout the application.
Step 2: Decide Whether Your Vendor Will Submit the Application
After registration, a vendor selection pop-up will appear on the portal. You will need to decide how you want to proceed with your application at this stage.
Select ‘Yes’ if you want the vendor to fill in the application on your behalf. If you prefer to manage and submit the application yourself, select ‘No’ and continue with the process.
This choice can determine how you complete the next stages of your rooftop solar system application, so select the option that suits your preference.
Key takeaway: Choose the application route that matches how you want to manage the process.
Step 3: Apply for Your Rooftop Solar System
Once your profile is ready, select ‘Apply for Solar Rooftop’ on the portal. You will need to enter details such as your state, district, Distribution Company (DISCOM), and consumer number before proceeding.
Click ‘Fetch Details’ to retrieve the available consumer information and automatically pre-fill the relevant fields. Review the information carefully, click ‘Next’, complete the remaining application fields, and submit your request.
Providing accurate information at this stage can make the application easier to process and help prevent issues later.
Key takeaway: Review all pre-filled information before submitting your application.
Step 4: Select a Vendor After Feasibility Approval
After submitting your application, you need to wait for feasibility approval. This confirms that the proposed rooftop solar system can proceed based on the applicable requirements and electricity connection details.
Once you receive the approval, you can select a vendor through the portal. You will also need to provide your bank account details so that the subsidy can be transferred to you after the required stages are completed.
Check your bank details carefully before submitting them. Incorrect information could affect the subsidy disbursement process.
Key takeaway: Check your bank information carefully before submitting it.
Step 5: Get the Rooftop Solar System Installed
After selecting a vendor, the installation of your rooftop solar system can be completed as per the approved application. Once the plant has been installed, the vendor submits the relevant installation details to you, the consumer.
You need to review these details and complete the required verification. After your verification, the vendor submits the installation information to the DISCOM for further processing.
Carefully checking the information at this stage gives you an opportunity to identify any discrepancies before the application moves ahead.
Key takeaway: Verify the installation details before they are forwarded for DISCOM processing.
Step 6: Complete DISCOM Inspection and Redeem the Subsidy
The DISCOM conducts an inspection of the installed rooftop solar system. The inspection details are subsequently submitted to you through the relevant process.
After the inspection has been completed, you can proceed with redeeming the subsidy through the portal. The subsidy claim is then submitted to the National Programme Implementation Agency (NPIA) for further processing.
Keep checking your application status after the inspection. If any action is required from your side, completing it promptly can help move the subsidy process forward.
Key takeaway: Monitor your portal status and complete any pending action after the inspection.
Complete Your Rooftop Solar Subsidy Application With Confidence
Applying for a rooftop solar system subsidy involves several stages, from creating your profile to completing the DISCOM inspection. Accurate personal, consumer, and bank details are important throughout the process. You should also review vendor-submitted information and complete verification requirements on time.
Start your application through the official PM Surya Ghar portal and track its progress after submission. If you need professional assistance, solar companies like Eastman Auto & Power Limited can help you explore suitable solar solutions. Following each stage carefully can make the subsidy application easier to manage.
Disclaimer: This Post is not written or produced by UdaipurTimes writers/journalists. UdaipurTimes follows ASCI guidelines for Online Advertising. The information may involve financial or health risk and UdaipurTimes does not endorse or promote any claims made in this post.
